Old, worn-out tiles not only make your space look dated — they can also harbor moisture, crack over time, or create uneven surfaces that trap dirt. Whether you’re renovating your bathroom, kitchen, entryway, or patio, replacing old tiling can dramatically enhance both function and style.
Here’s a simple step-by-step guide to help you understand how tiling replacement works and what to expect during the process.
1. Evaluate the Current Surface
Before any work begins, it’s important to assess the condition of the existing tiles and substrate underneath.
- Check for loose, cracked, or missing tiles.
- Look for signs of water damage or mold.
- Identify if the subfloor or wall surface is uneven.
This initial inspection helps determine whether a full replacement or targeted repair is needed.

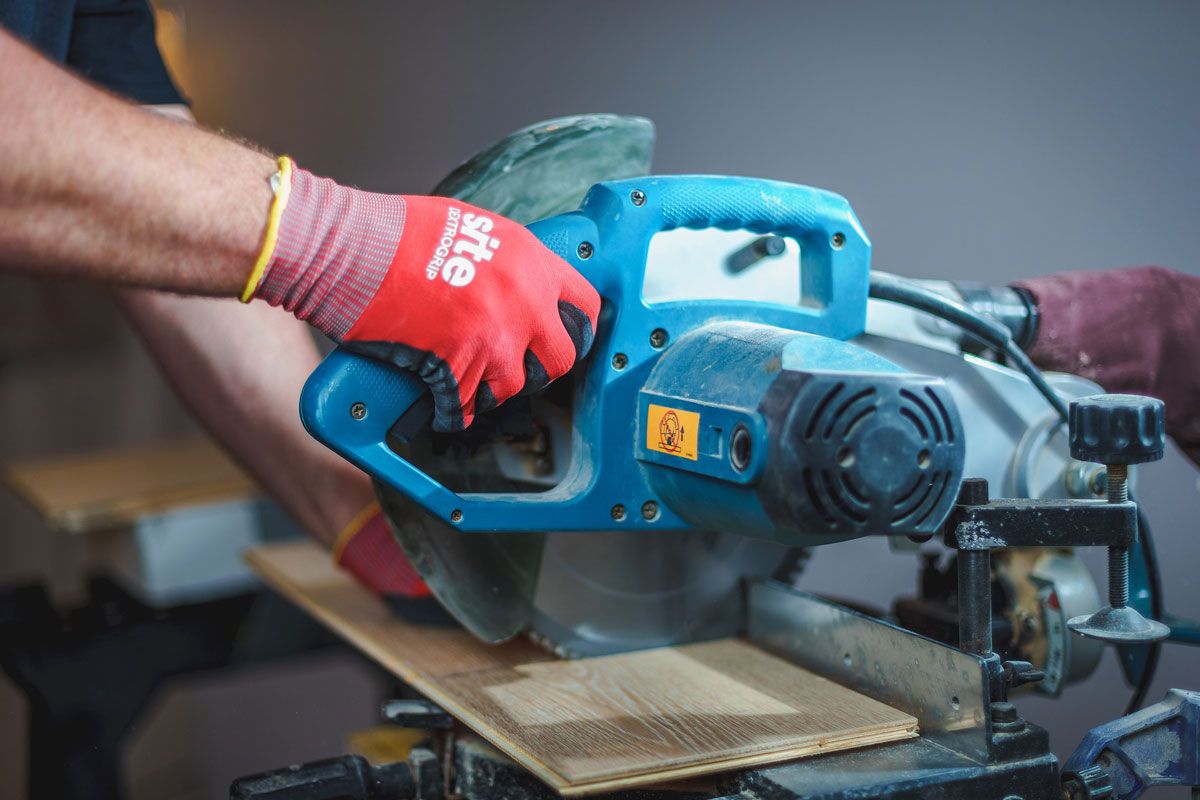
2. Remove the Old Tiles
Once the area is prepared, the next step is removing the existing tile.
-
Use a chisel and hammer or a power scraper for larger areas.
-
Carefully remove old grout and adhesive residue.
-
Wear safety gear — tiles can break and scatter.
This step takes patience to avoid damaging the surface below.
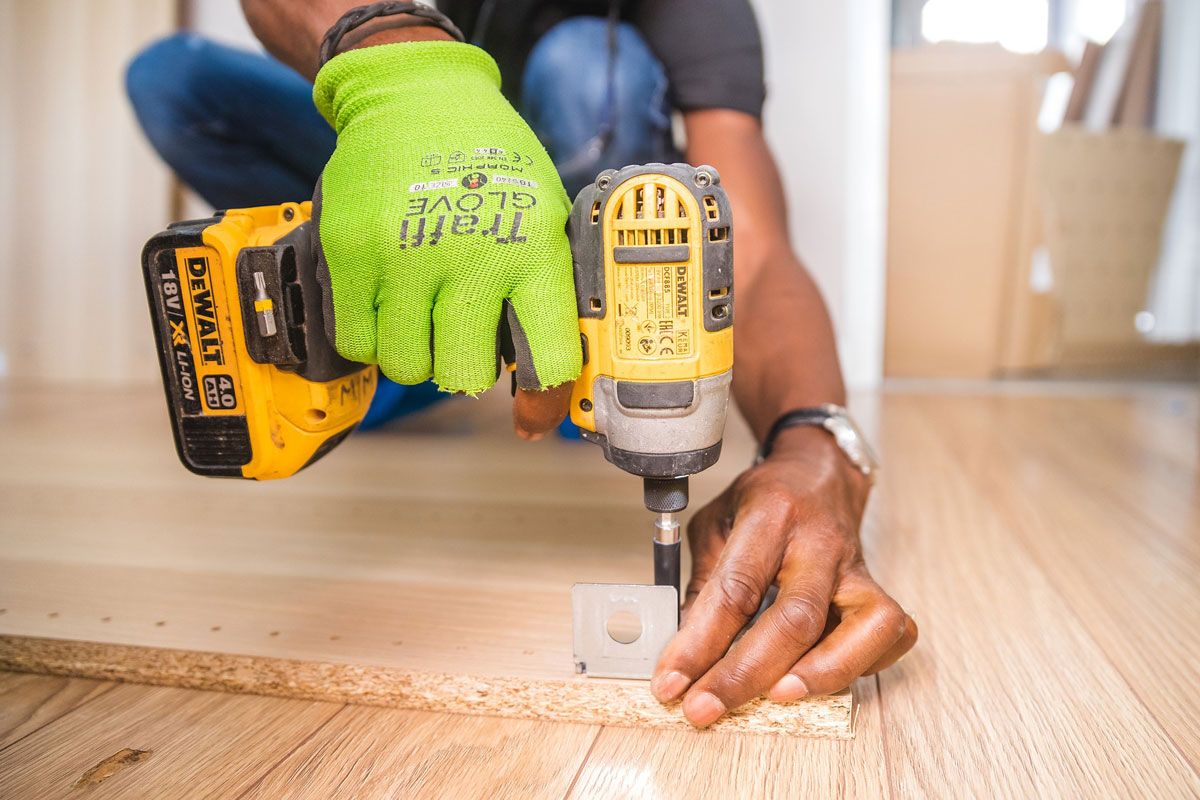 3. Prepare the Surface
After tile removal, preparing the substrate is essential for a successful installation.
-
Repair cracks or uneven spots in the substrate.
-
Clean away dust, debris, and old adhesive.
-
Apply a primer or backer board if necessary for proper bonding.
A clean and level surface ensures the new tiles adhere properly and last longer.
4. Plan Your Tile Layout
Before setting new tiles, lay them out without adhesive.
-
Find the center of the area and work outward for a balanced design.
-
Use spacers to maintain even grout lines.
-
Adjust your plan for cuts near edges or fixtures.
This planning step ensures a professional, symmetrical finish.
5. Apply Adhesive & Set Tiles
With a layout in place, you can begin setting the new tiles.
- Spread tile adhesive using a notched trowel.
- Place tiles firmly, maintaining consistent spacing.
- Ensure tiles are level as you go.
Work in small sections to prevent the adhesive from drying before tiles are placed.
6. Grout the Tiles
Once the adhesive has set, it’s time to grout:
- Apply grout with a rubber float.
- Press grout into the gaps and remove excess.
- Wipe tiles with a damp sponge for a smooth finish.
Be sure to follow the manufacturer’s drying times before walking on the surface.
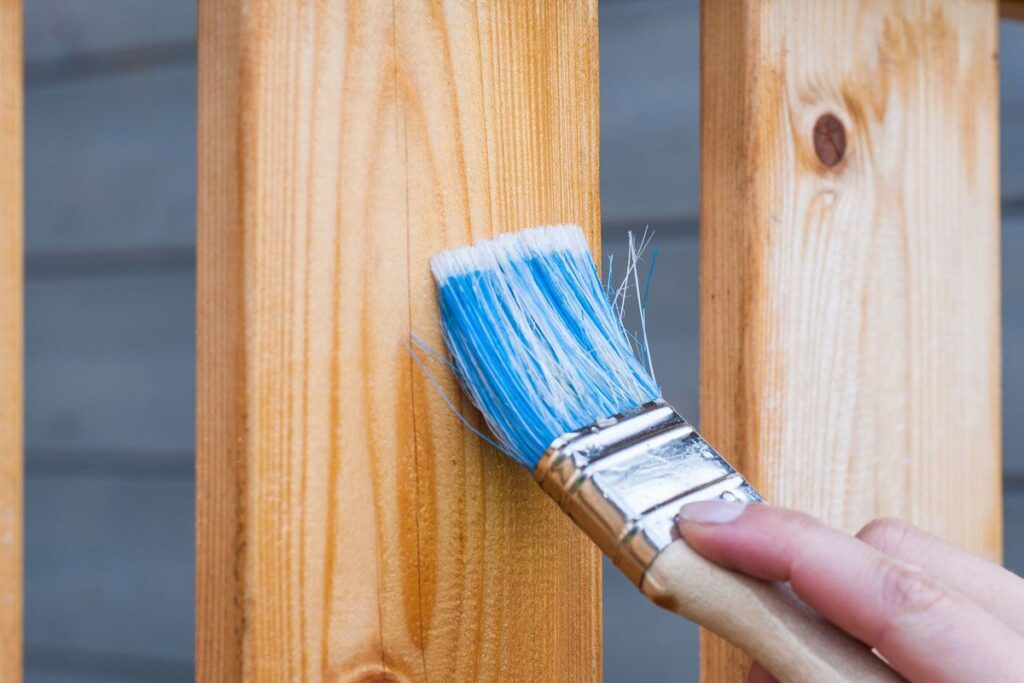
7. Seal and Finish
Sealing tiles and grout enhances durability and makes cleaning easier.
- Use a high-quality sealant suitable for your tile type.
- Allow proper curing time.
- Clean off any residue for a polished look.
Sealing is especially important in wet areas like bathrooms and kitchens.
